How to Colour Correct Eyebrows

From day 1 of your career as a PMU artist, one of the most important skills you’ll need to acquire is understanding eyebrow colour correction.
You know the drill: a client calls you in a panicked tone. They’ve had their eyebrows tattooed elsewhere and now their eyebrows have faded to blue, grey, or red. They beg the question “can you fix them??”. The answer to this question is the difference between being fully-booked and, well… not fully-booked. As the PMU industry quickly grows, so does the likelihood of your potential clients needing colour-correction experts to tend to their eyebrow correction needs.
It’s time to become that eyebrow colour correction expert.
Thankfully, we’ve partnered with Tiffany Chen, the master artist from Beauté Academy who is known for her incredible ombré brows and tried-and-true eyebrow colour correction approach with proven healed results.
With clientele from around the world seeking her expert artwork, along with thousands of students requesting training for this technique, Tiffany, Mini and Laura, AKA Beauté Academy, created one of the most in-depth online Ombré Brows courses the PMU world has ever seen - Ombré Brows Online.

Tiffany, Laura and Mini from Beauté Academy
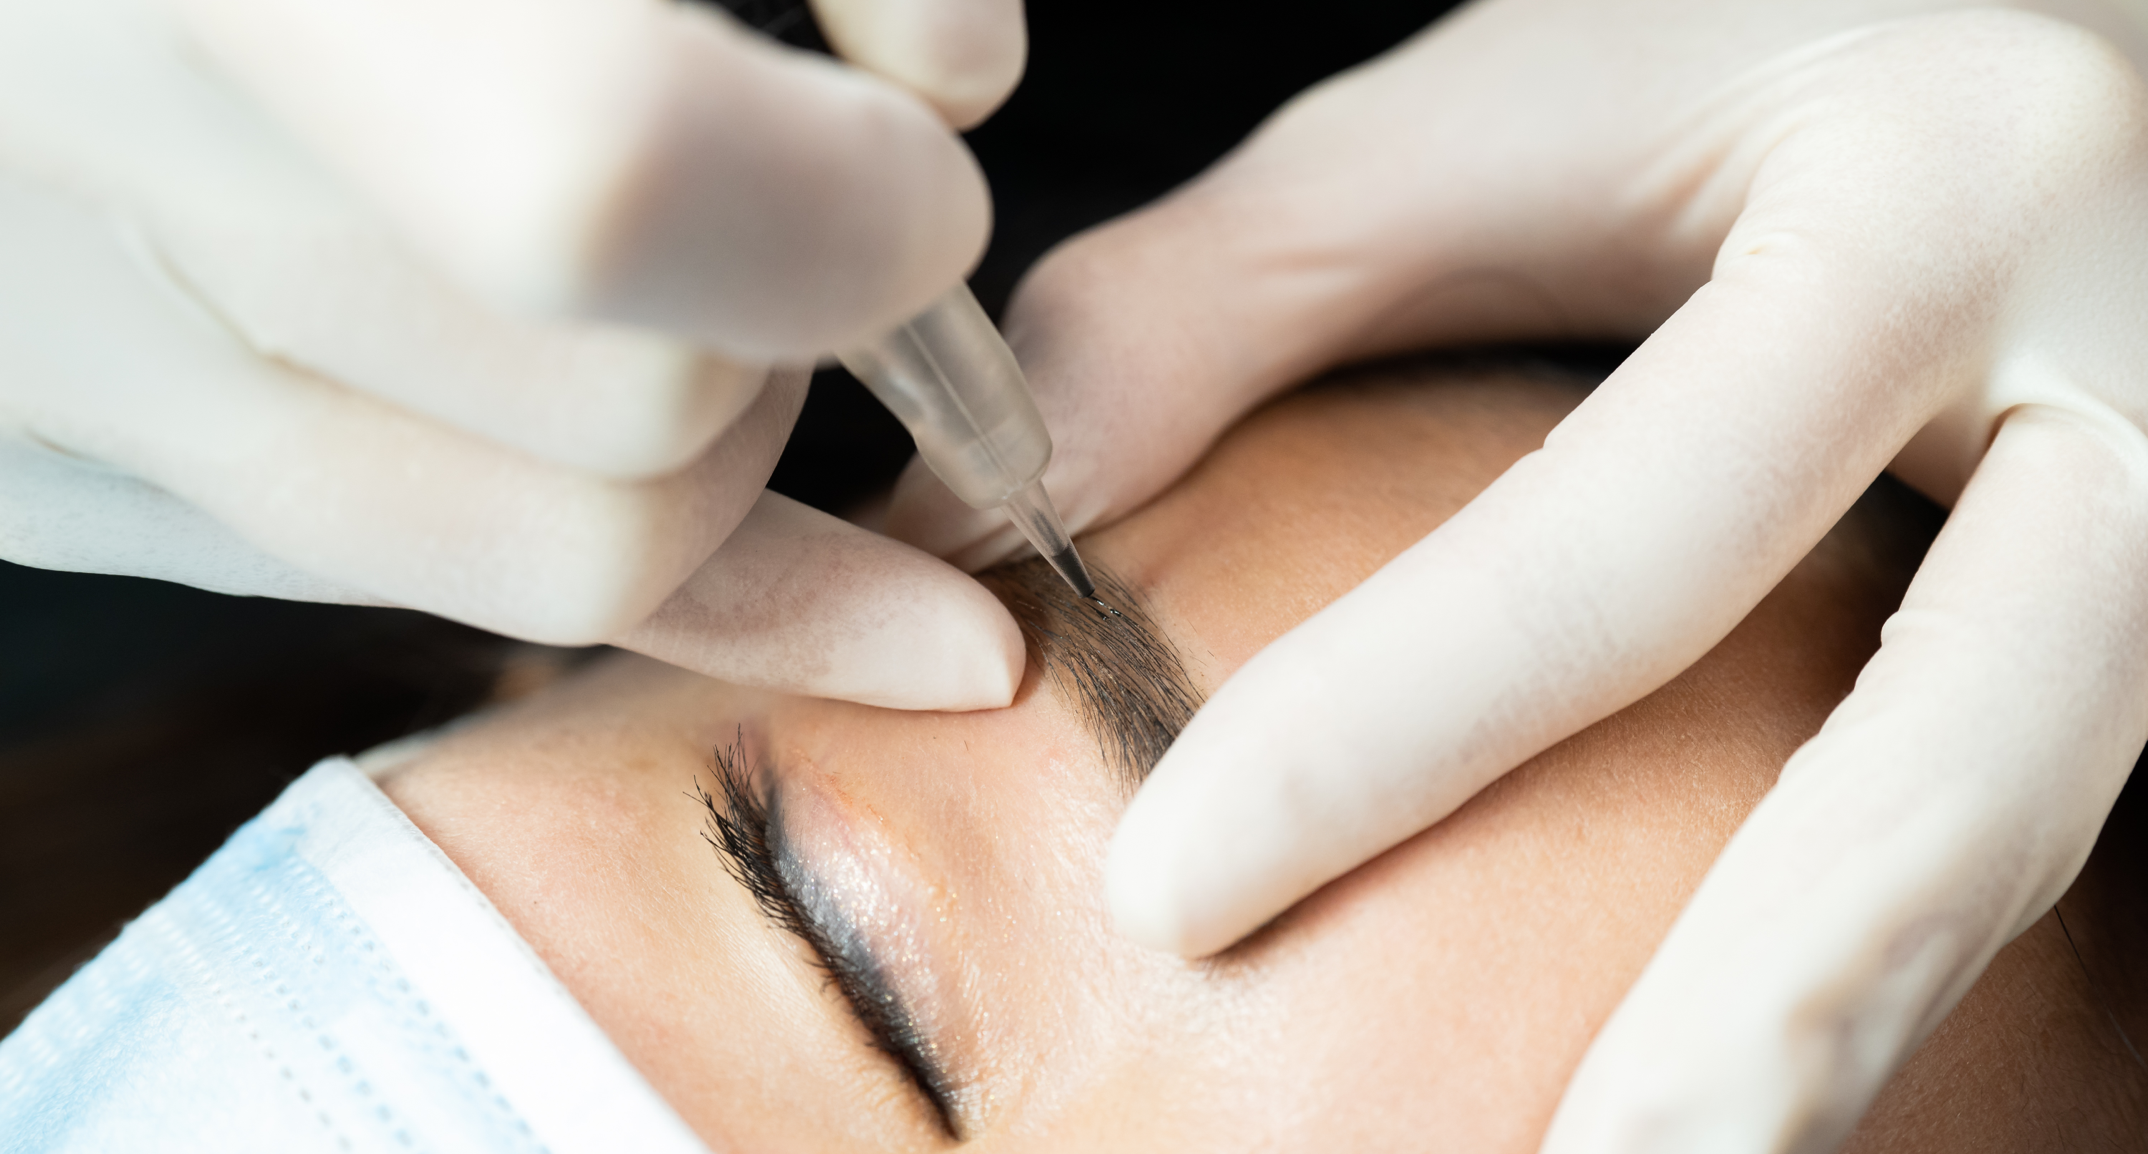
Here, Tiffany from Beauté Academy explains her step-by-step process of colour-correcting eyebrows using the ombré shading technique.

Tiffany working on her client
Why Eyebrows can Shift Colour Over Time
- As we learned in our basic colour theory, brown is a mix of red, blue/black and yellow. Depending on the quality and the formulation of your pigment brand, the lightfastness rating of the colours may not have been equally balanced which can leave behind those undesired dominant residual colour ie red, grey, blue
- Clients with a warm skin undertone will pull the warm tone of a pigment more than a person with a cool undertone. If you use a warm pigment on a person with a warm undertone, the colour will heal very warm compared to someone with a cool undertone.
Make sure you know the undertone of both your pigment and your client. Remember, warm skin undertone will heal warmer and cool skin undertone will heal cooler.
Understanding Complementary Colours
- You can colour-correct old tattoos that have turned blue, purple or red by understanding complementary colours.
- For example, in order to correct blue eyebrows, you first have to identify the complementary colour of blue.
- As you can see from the colour wheel, orange can offset blue. On the contrary, if you are trying to correct red brows, you need green to offset the red.

How to Correct Colour
Colour Corrector
Perma Blend offers correctors that can correct old tattoos that are blue, purple or red/orange.
Corrects blue/purple.

Corrects orange/red.

Colour Correction Steps
In order to colour correct previously tattooed brows, you need to ask yourself the following questions.
Identify if the old tattoo is blue/grey OR red/orange?
If the old tattoo is blue/grey, orange is the complementary colour. You’ll need to use the Pumpkin Corrector to offset the old tattoo.
If the old tattoo is red/orange, green is the complementary colour. You’ll need to use the Olive Corrector to offset the red.
The target colour is the final end colour you desire.
If the old tattoo is cool and ashy, your target colour/pigment should contain a warm undertone.
If the old tattoo is red and warm, your target colour/pigment should contain a cool undertone.
Brows that have faded by 70% or more

|
Outline |
Target Colour |
|
1st Pass (1 layer to open skin) |
Corrector Colour (Pumpkin or Olive) |
|
2nd Pass (up to 3 layers) |
Corrector Colour (Pumpkin or Olive) |
|
3rd Pass (up to 3 layers) |
Target Colour |
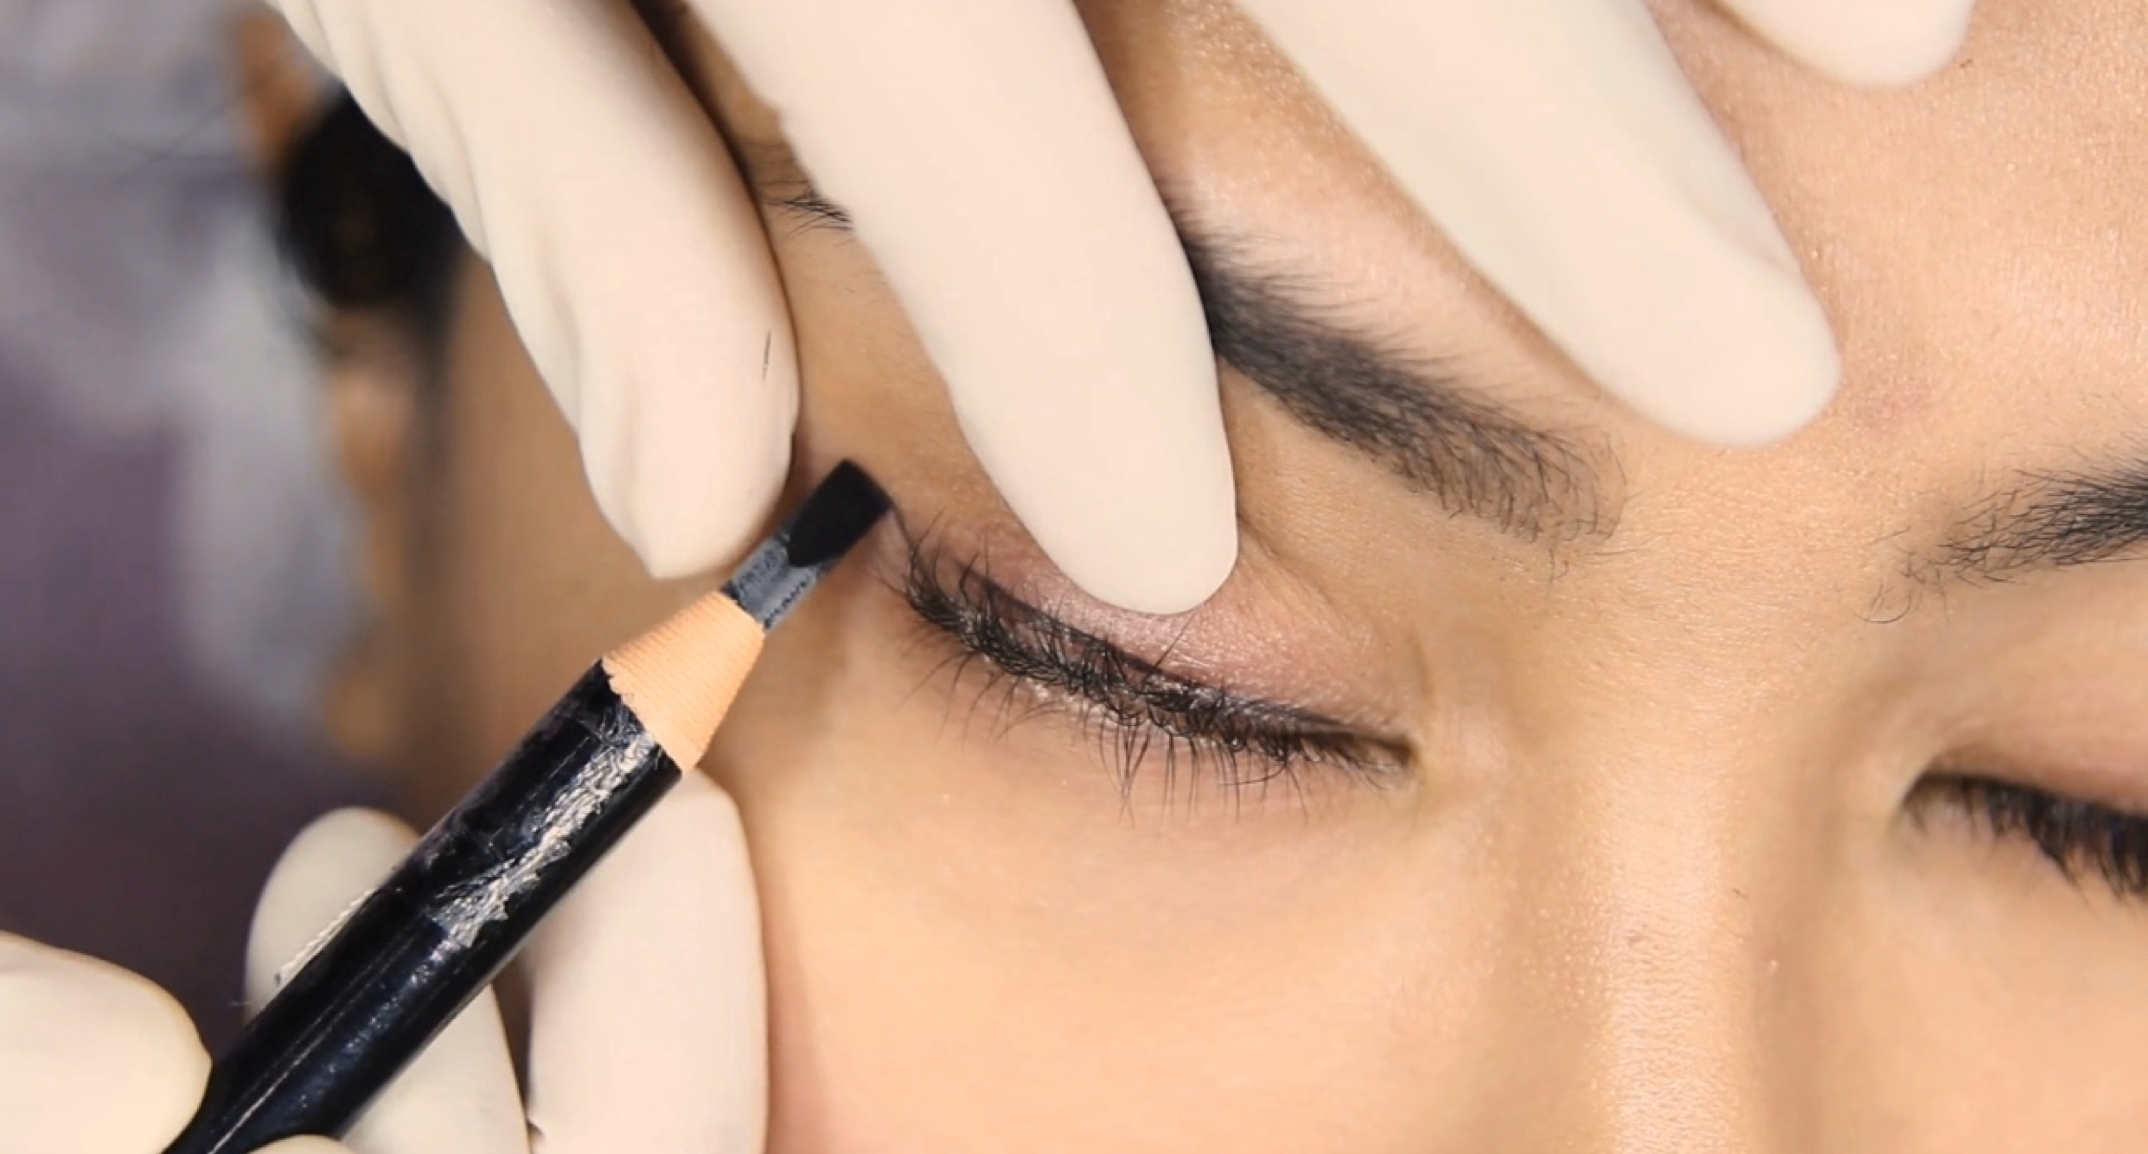
- Once brow mapping is done, outline the brow shape with the target pigment colour choice (the one you would normally use).
- Shade 3-4 layers using the desired corrector (Pumpkin or Olive).
- As you shade more passes with the corrector, you will notice the old tattoo colour is gradually being neutralized and turning browner.
- Once the old tattoo has been neutralized to the desired level, finish the rest of the shading with the target pigment choice. Don't forget to apply duration numbing in between each pass.
- You may need to repeat this process on the client's touch-up session if the old tattoo colour is still visible.
- If the old tattoo has been fully neutralized, you DO NOT need to use corrector pigment on the touch-up session.
Brows that have faded by 50%-70%

|
Outline |
No need to brow map or outline |
|
1st Pass (1 layer to open skin) |
Corrector Colour (Pumpkin or Olive) |
|
2nd Pass (up to 3 layers) |
Corrector Colour (Pumpkin or Olive) |
|
3rd Pass (up to 3 layers) |
Corrector Colour (Pumpkin or Olive) |
- If the old tattoo is very dark and saturated, you may need to shade 5-6 layers using only the corrector pigment to offset the old colour.
- If this is the case, the initial appointment should be set for doing colour correction only.
- Do not outline the shape in this case. Only use the desired corrector to neutralize the old tattoo.
- Clients may need 2-3 touch-up sessions to completely correct and neutralize the old tattoo.
- Once the old tattoo has been neutralized to the desired level, you can add the target colour.
Remember, our job is to cover the old tattoo using a corrector pigment. It DOES NOT remove the old tattoo. You can cover old tattoos as long as they have faded by 50% or more. Do not try to cover up old tattoos that are very dark and saturated.
Case Studies
Case Study #1
|
Skin Tone |
|
|
Skin Type |
|
|
Initial Session |
|
|
Touch-Up session |
|
Case Study #2

|
Skin Tone |
|
|
Skin Type |
|
|
Initial Session |
|
|
Touch-Up session |
|
Case Study #3

|
Skin Tone |
|
|
Skin Type |
|
|
Initial Session |
|
|
Touch-Up session |
|
|
Note |
|
Color Correction with 7 Curved Magnum

The 0.25MM 7-CURVED MAGNUM needle is one Mini’s favorite needles for color correction. It allows Mini to deposit the pigment more gently and faster without snagging the skin. It can be use both vertically or horizontally depending on the work position and stretching position.

Want to see this colour correction technique in action? Check out their newly-launched Ombré Brows Online course where you can see a live colour correction eyebrow demonstration.

Learn More
Like what you read and want to learn more from Beauté Academy? Once you master the art of eyebrow colour correction and the ombré shading technique, word of mouth will spread amongst your clients and your business will boom.
Ombré brows and colour correction can be intimidating for artists of any experience level. That’s why we’ve launched Ombré Brows Online by Beauté Academy on The Collective by Tina Davies!
This course covers everything from client care, colour theory and colour correction to outline and shading techniques and even demonstrations on live models AND skin pads.

The course even contains downloadable cheat sheets, client forms, practice pages and more:
- Skin Structure
- Colour Theory
- Colour Correction
- Face Analysis & Symmetry
- Brow Mapping
- Outline Techniques
- Shading Techniques
- How to Draw Brows
- Machine Technique
- Technique Components
- Speed
- Procedure Preparation
- Live Demo in Sequence
Want a sneak preview of the course content?


Don’t miss out.
More from Beauté Academy
Fundamentals of Eyeliner Tattoo

This course covers everything from client care to step-by-step instructions on how to tattoo the perfect eyeliner - not just one style but ALL the eyeliner styles. Delve into vast details in various topics such as: choosing the right colour for best-healed results, addressing different eye shapes, technical skills involved to achieve excellent colour penetration and much, much more!
Leave a comment
This site is protected by hCaptcha and the hCaptcha Privacy Policy and Terms of Service apply.