
Dark Lip Neutralization Tips by Jasmine Diebelius
TRENDING NOW: Dark Lip Neutralization!
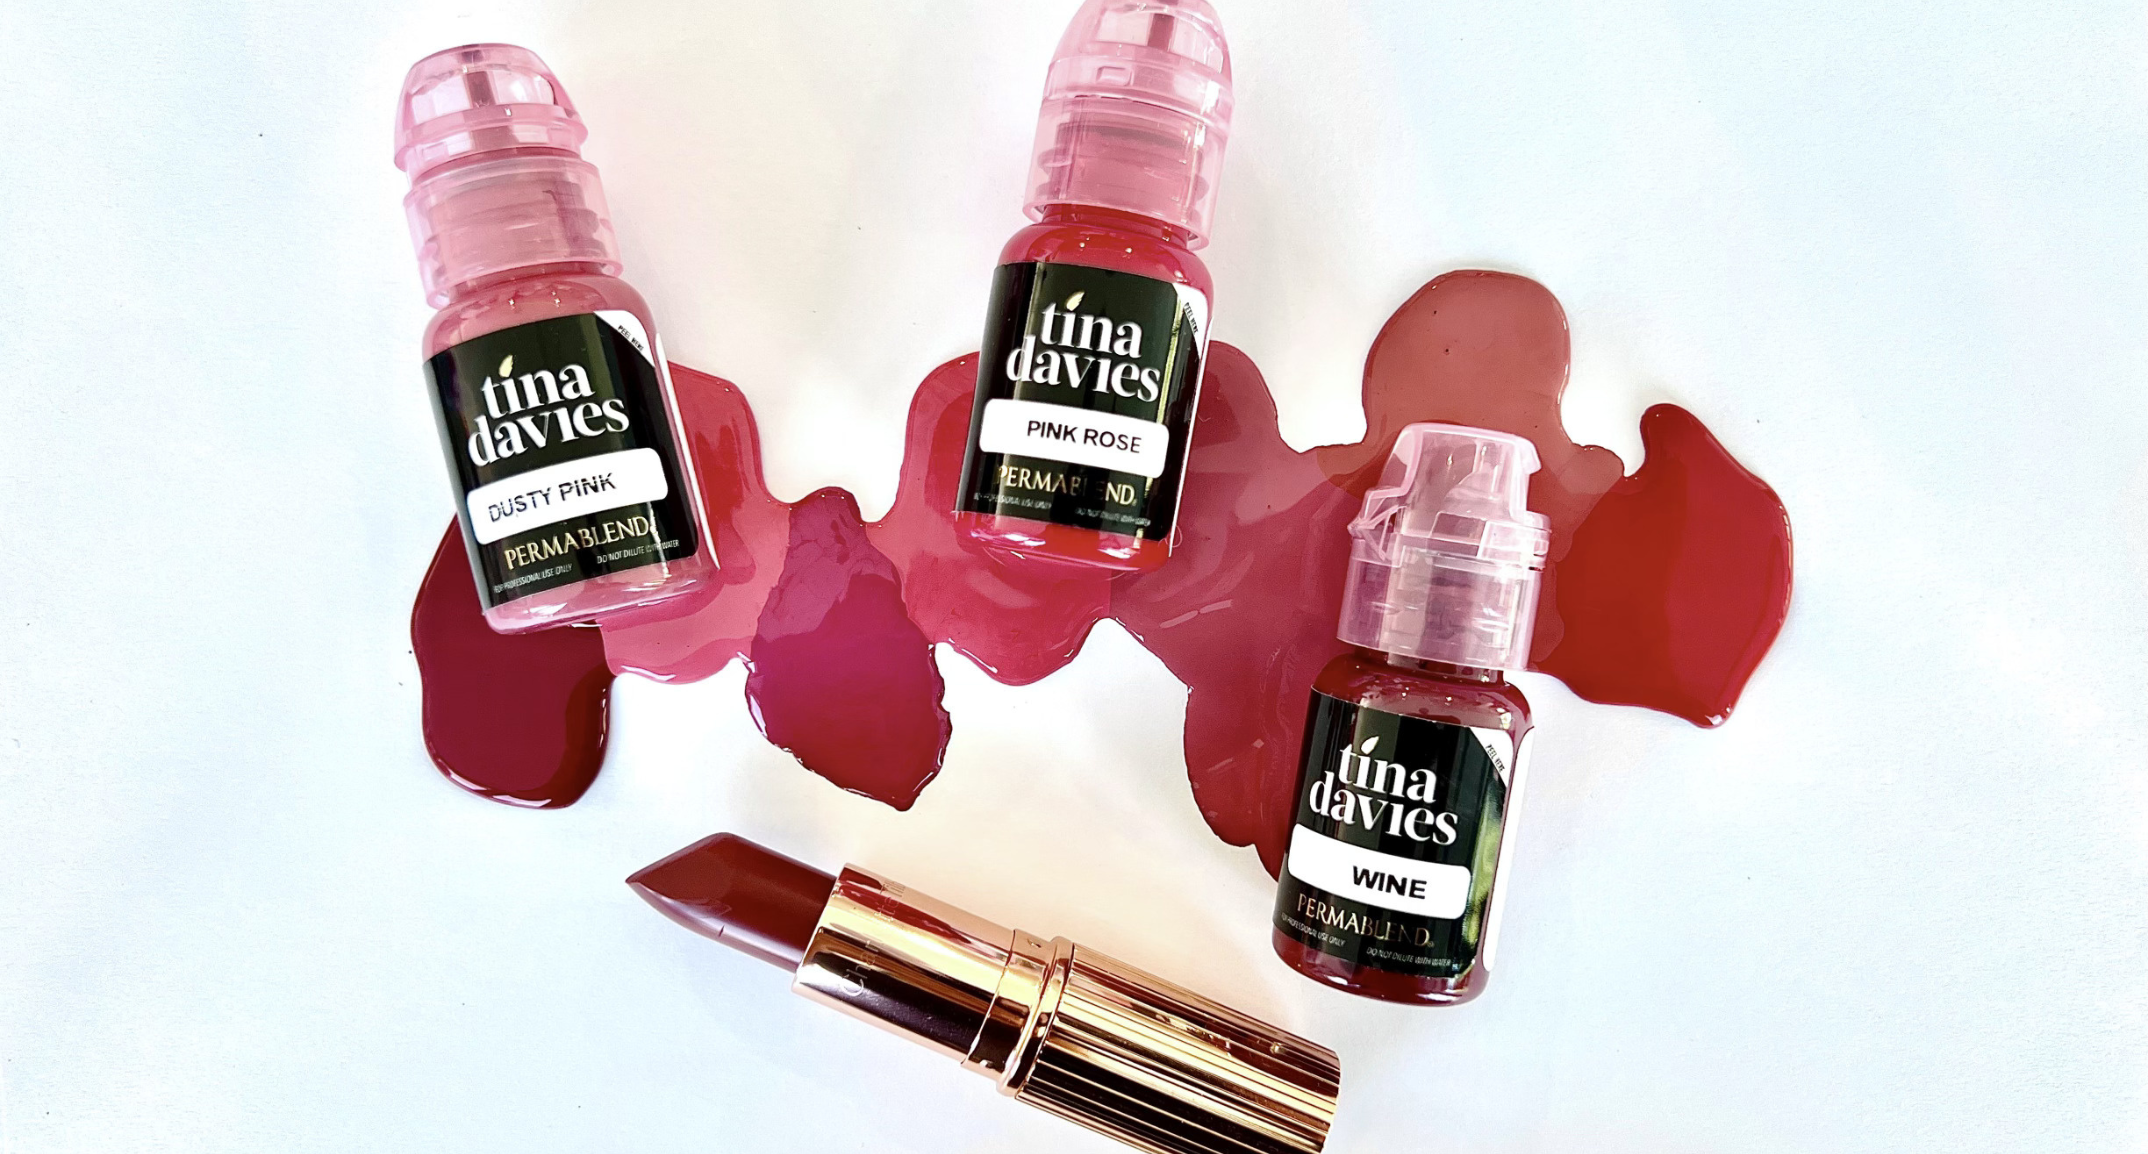
This advanced lip blushing technique is growing in popularity, with more clients requesting this procedure. Tattooing dark lip tissue requires specific pigment colours, tools and techniques in order to successfully neutralize the lip.
I’m so excited to launch Lip Magic: Dark Lip Neutralization Online Course taught by PMU award-winning-artist, Jasmine Diebelius, on The Collective. Take this course so you feel prepared when a client with dark lips books with you.
Here are some of Jasmine’s top tips to a successful procedure.
1. Setting Client Expectations

Dark lip neutralization is the process of lightening dark lip tissue typically on Fitzpatrick 4-6 skin types. Although you may see a visible improvement after just one procedure when using the right techniques, upon healing you may notice some imperfections that can be perfected in a second, third or even fourth session.
Usually, the darker the natural lip tissue = the more sessions required to reach the client's desired effect.
Set your client's expectations early on by overestimating the number of sessions needed to achieve their desired effect.
This way, they won't be disappointed if they don't see their goal colour after just one procedure. In turn, they'll be even happier if they reach their goal colour in fewer procedures than planned.
Remember to always allow a minimum of 8-10 weeks in between procedures to ensure the lips have fully healed and are healthy enough to tattoo again.
2. Taking Before & After Photos
We all know that taking before and after photos is an important step for every procedure - but for dark lip neutralization clients, this step should be a non-negotiable!
Multiple procedures are usually required to reach the client's goal colour. With a minimum of 8-10 weeks in between sessions, clients (and artists) can easily forget where they started by the time they reach the 3rd or 4th session.
- Taking photos before and after each session allows you to document your progress and compare the 'before' to the final healed results.
- Try to capture your photos with the same lighting, camera, lens, and angles each time so you can see the true difference in results over time.
- Take some videos so you can create a Reel or TikTok. Jasmine also adds her client images to her booking system so she can easily find the 'before' photos when she sees her client again for future touch-ups.
2. Importance of Lighting

Your 'before & after' photos should match to ensure your work is portrayed accurately. Keep reading to see how Jasmine Diebelius approaches her photo-taking.
"I want to share this interesting photo with you. All 3 of these images are before photos of my client Joanne. Look how different the hue of the natural lip looks in each picture! There is a vast difference between these 3 photos but it's the SAME lip! This is how important it is to understand how different light and tools can influence the canvas.
Let's break down these images…

Natural Ring Light with iPhone 11 Pro camera is my most popular combination as I feel this will take the most realistic image of my client's lips and skin tone. Joanne’s skin in real life is a beautiful warm deep brown with strong orange undertones. I feel this reflects most life-like and is realistic which I strive to be.

Macro lens attached to the same iPhone 11 Pro. I feel all macro lenses give a cool-toned filter and blur the edges of the shot. The skin tone has drastically pulled green/grey tones which in real life is not too visible. But with this said, it's great to see the lips before on another level and show us the cool tendencies which can be hard to see from just looking with our eyes.

No ring light is super helpful and interesting. Most of the time we do not walk around with a flattering ring light on our lips (unfortunately!). Turn the right light off to see the true lip hue with no lumination - this gives us a great understanding of the lip colour we are working with.
Lesson to take away: If you are using a macro lens, you must then create the 'before and after' collage with the same lens and vice versa if you use no lens or ring light. All your 'before and after' photos need to be uniform and with the same colourings to ensure your work looks genuine and offers true advertising for our clients." - Jasmine Diebelius
4. Stretching
What are the main reasons that stretching is so important?
1. Flat Surface - Ensure you have a smooth entry point for the needle which can help the needle enter the skin consistently. Ensure you stretch in small patches and spend more time on the darker areas blending into the whole lip.
2. Feel your vibrations - If you have a loose stretch you will not feel the depth in where you are working which can lead to patchy and inconsistent results. If you feel no sensation/vibration in your stretching fingers, you're working too shallow. We need to feel in our stretching fingers a light vibration “purr hum” that is consistent and even.
3. Your client will feel secure - Confidently stretching can calm your client as they will feel your presence when working and relax.
If your client is mature or has wrinkled lips this can be harder and more challenging. Every lip will be different but following these steps will help you in finding the perfect stretch for your client.
Leave a comment
This site is protected by hCaptcha and the hCaptcha Privacy Policy and Terms of Service apply.